
I began sewing out of need … Barbie needed new clothes! After careers in sales training and instruction manual writing, I returned to my early love of sewing and brought my love of teaching along.
My quilt teaching journey began with community education quilting classes for beginners through advanced students. Then, prodded by a certain pandemic, moved on to create an online master group class. I especially enjoy breaking down new skills into easy-to-follow instructions, helping students problem-solve, and the energy of classroom interactions.
Emily Williams is everything I want in a teacher: she’s knowledgeable, passionate, curious, patient, and always willing to tailor presentations to meet students’ needs. She challenges, she inspires, and she supports. A big bonus: she’s very funny.
Louisa W. – master student
workshops
My workshops are designed for small groups to come together and learn new techniques, not to create (or re-create) a specific quilt but to add a new skill to your tool bucket. And then take that into your quilting practice. Enjoy the process!
Workshops are designed as 3-hour, in-person events with your sewing machines. They can also be provided virtually, but I prefer playing in person.
Philosophical Note: Quilting can be a solitary endeavor. My (quiet) goal is to bring people together and build community. We learn so much from each other.
Permission to Play
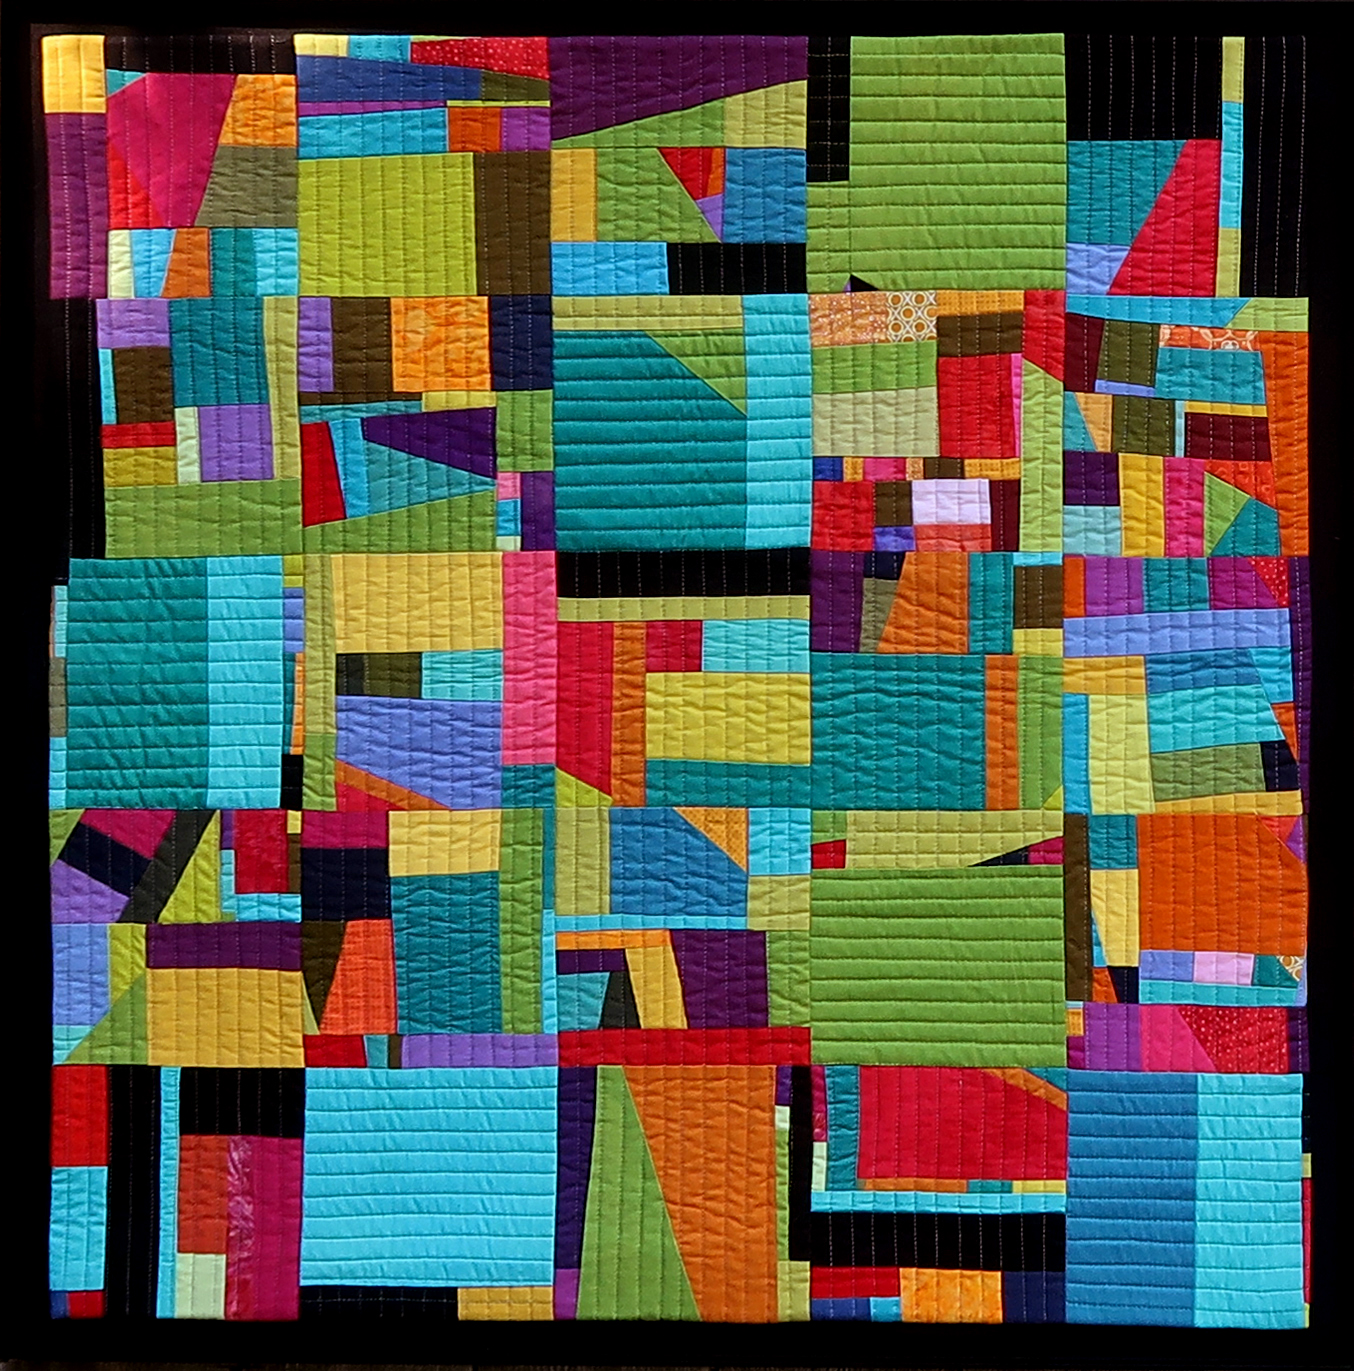
I love the chaos of grabbing a pile of fabrics and working them into a colorful composition.
Please don’t be intimidated by improvisational piecing and abstract quilt creations! There are hundreds of tutorials, but they seem to lack that critical step of getting started. This workshop will help you overcome that initial “whoa, I can’t do that” mental block.
Please bring a large pile of scraps or “crumbs” of fabric. Anything goes, but for your first attempt, let’s stick with pieces of quilting cotton 2” or larger. When you get more comfortable with the process, there will be time for those tiny pieces of silk or burlap. Be kind to yourself and have fun!
We will talk briefly about color and contrast and then get to work in a relaxed, non-judgmental way. We’ll start by picking up two pieces of fabric and sewing them together. Then another two. And so on. As we work, we will evaluate color neighbors, join pairs, square up edges to make for flat seams, and build a large piece of unique fabric. Yes, you can be a fabric designer!
Finally, we will discuss how to use our “crumb blocks.” Simply join them all together for a riot of color? Or cut them down into blocks, triangles, or circles and piece them into a vibrant, modern-traditional quilt.
Bowling with Friends
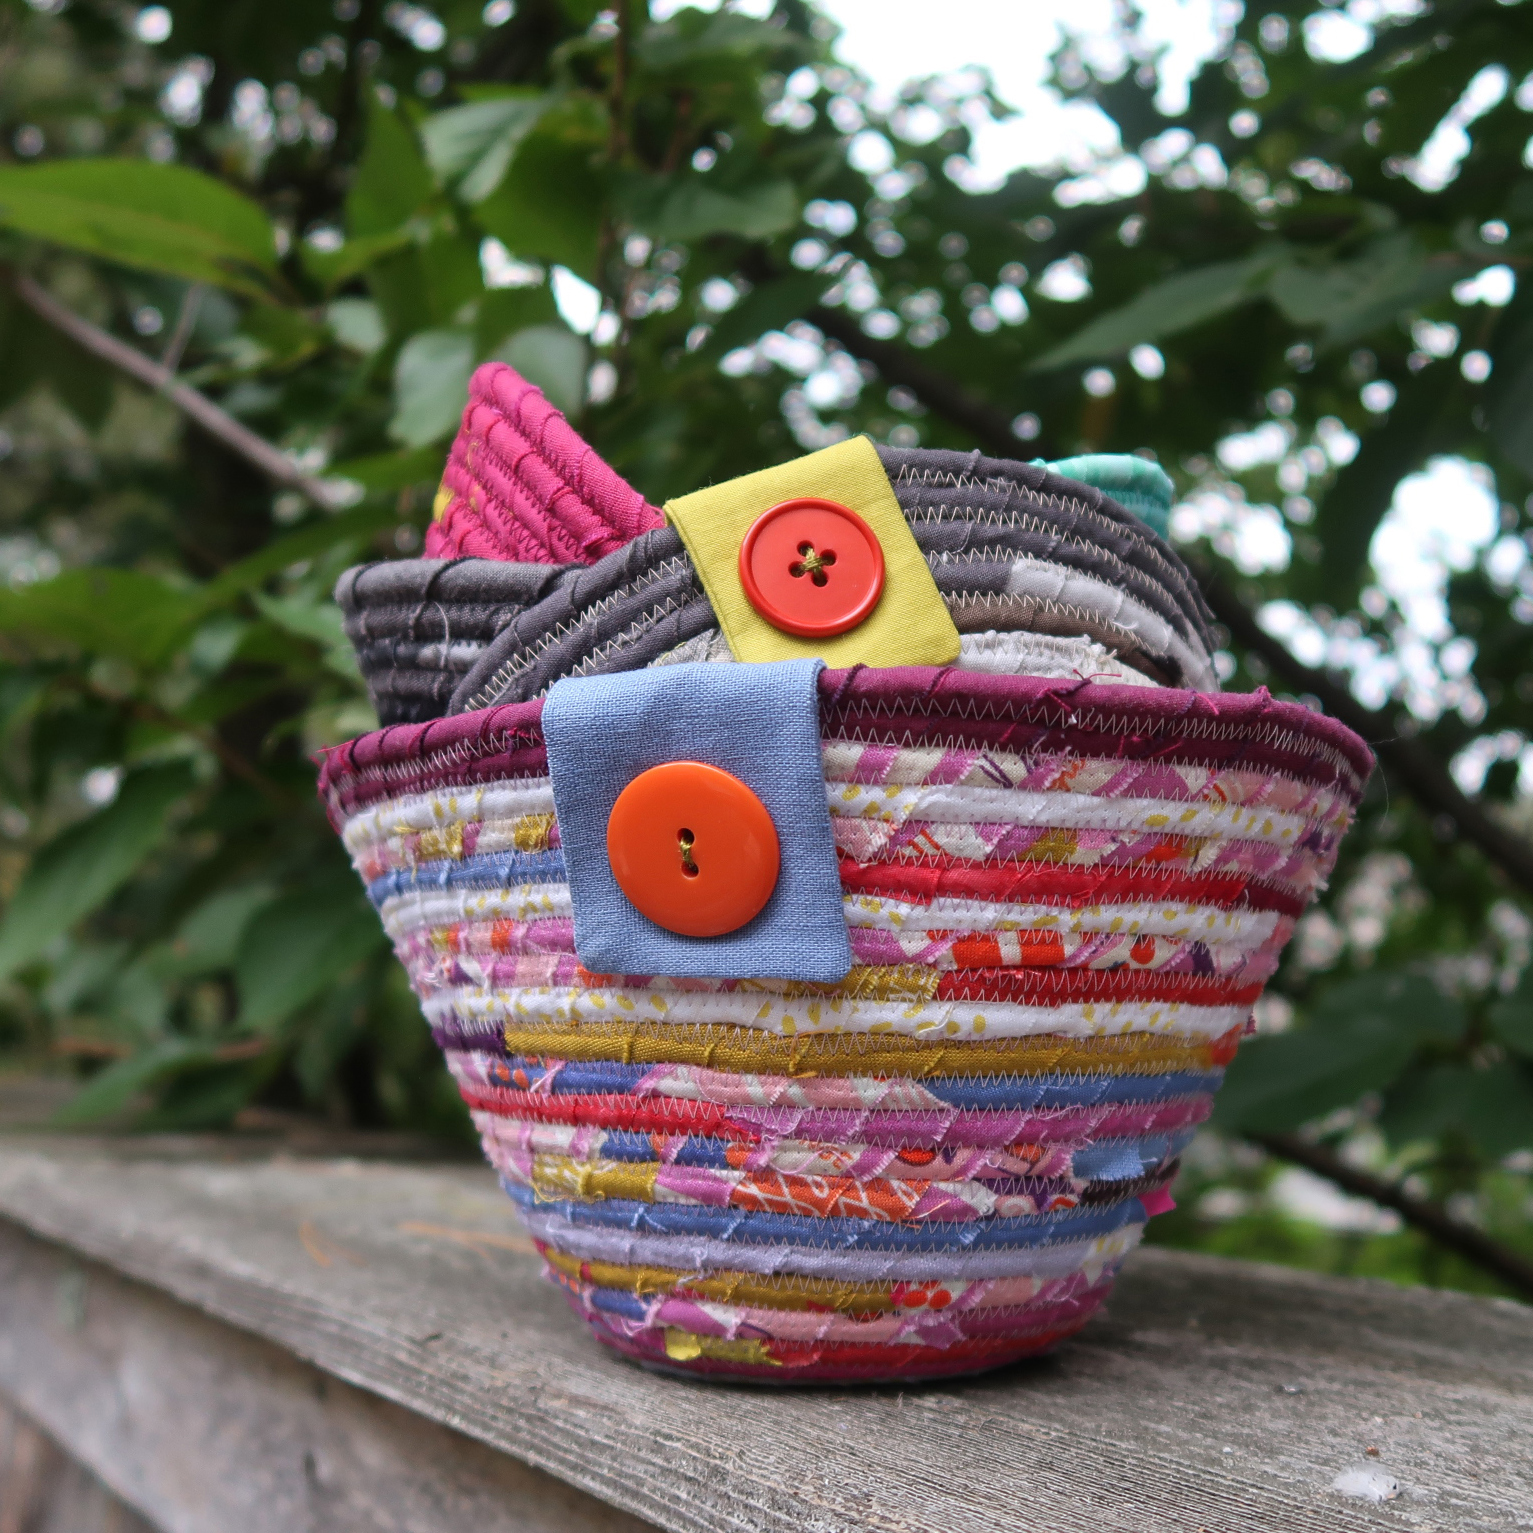
Got scraps? Have you seen fabric-wrapped rope bowls on the internet and wondered how to make one? This easy-to-learn technique is for you.
Students will learn how to make bowls and baskets from cotton clothesline rope wrapped with strips of fabric. We will discuss how to choose fabric and rope for your first project, prepare your materials, and set up your machine. Then, we will move on to bowl-making basics: starting the coil and shaping the bowl.
After mastering the basics, we will explore multiple finishing techniques, fabric types, and embellishments. And discuss how you can apply your new skills to make coasters, trays, lids, hanging baskets, and more.
Take a break from precision cutting and piecing, relax, play with color and texture, and chat a little with your neighbors. You will leave with a versatile new skill and maybe some new friends!
Faux Chenille
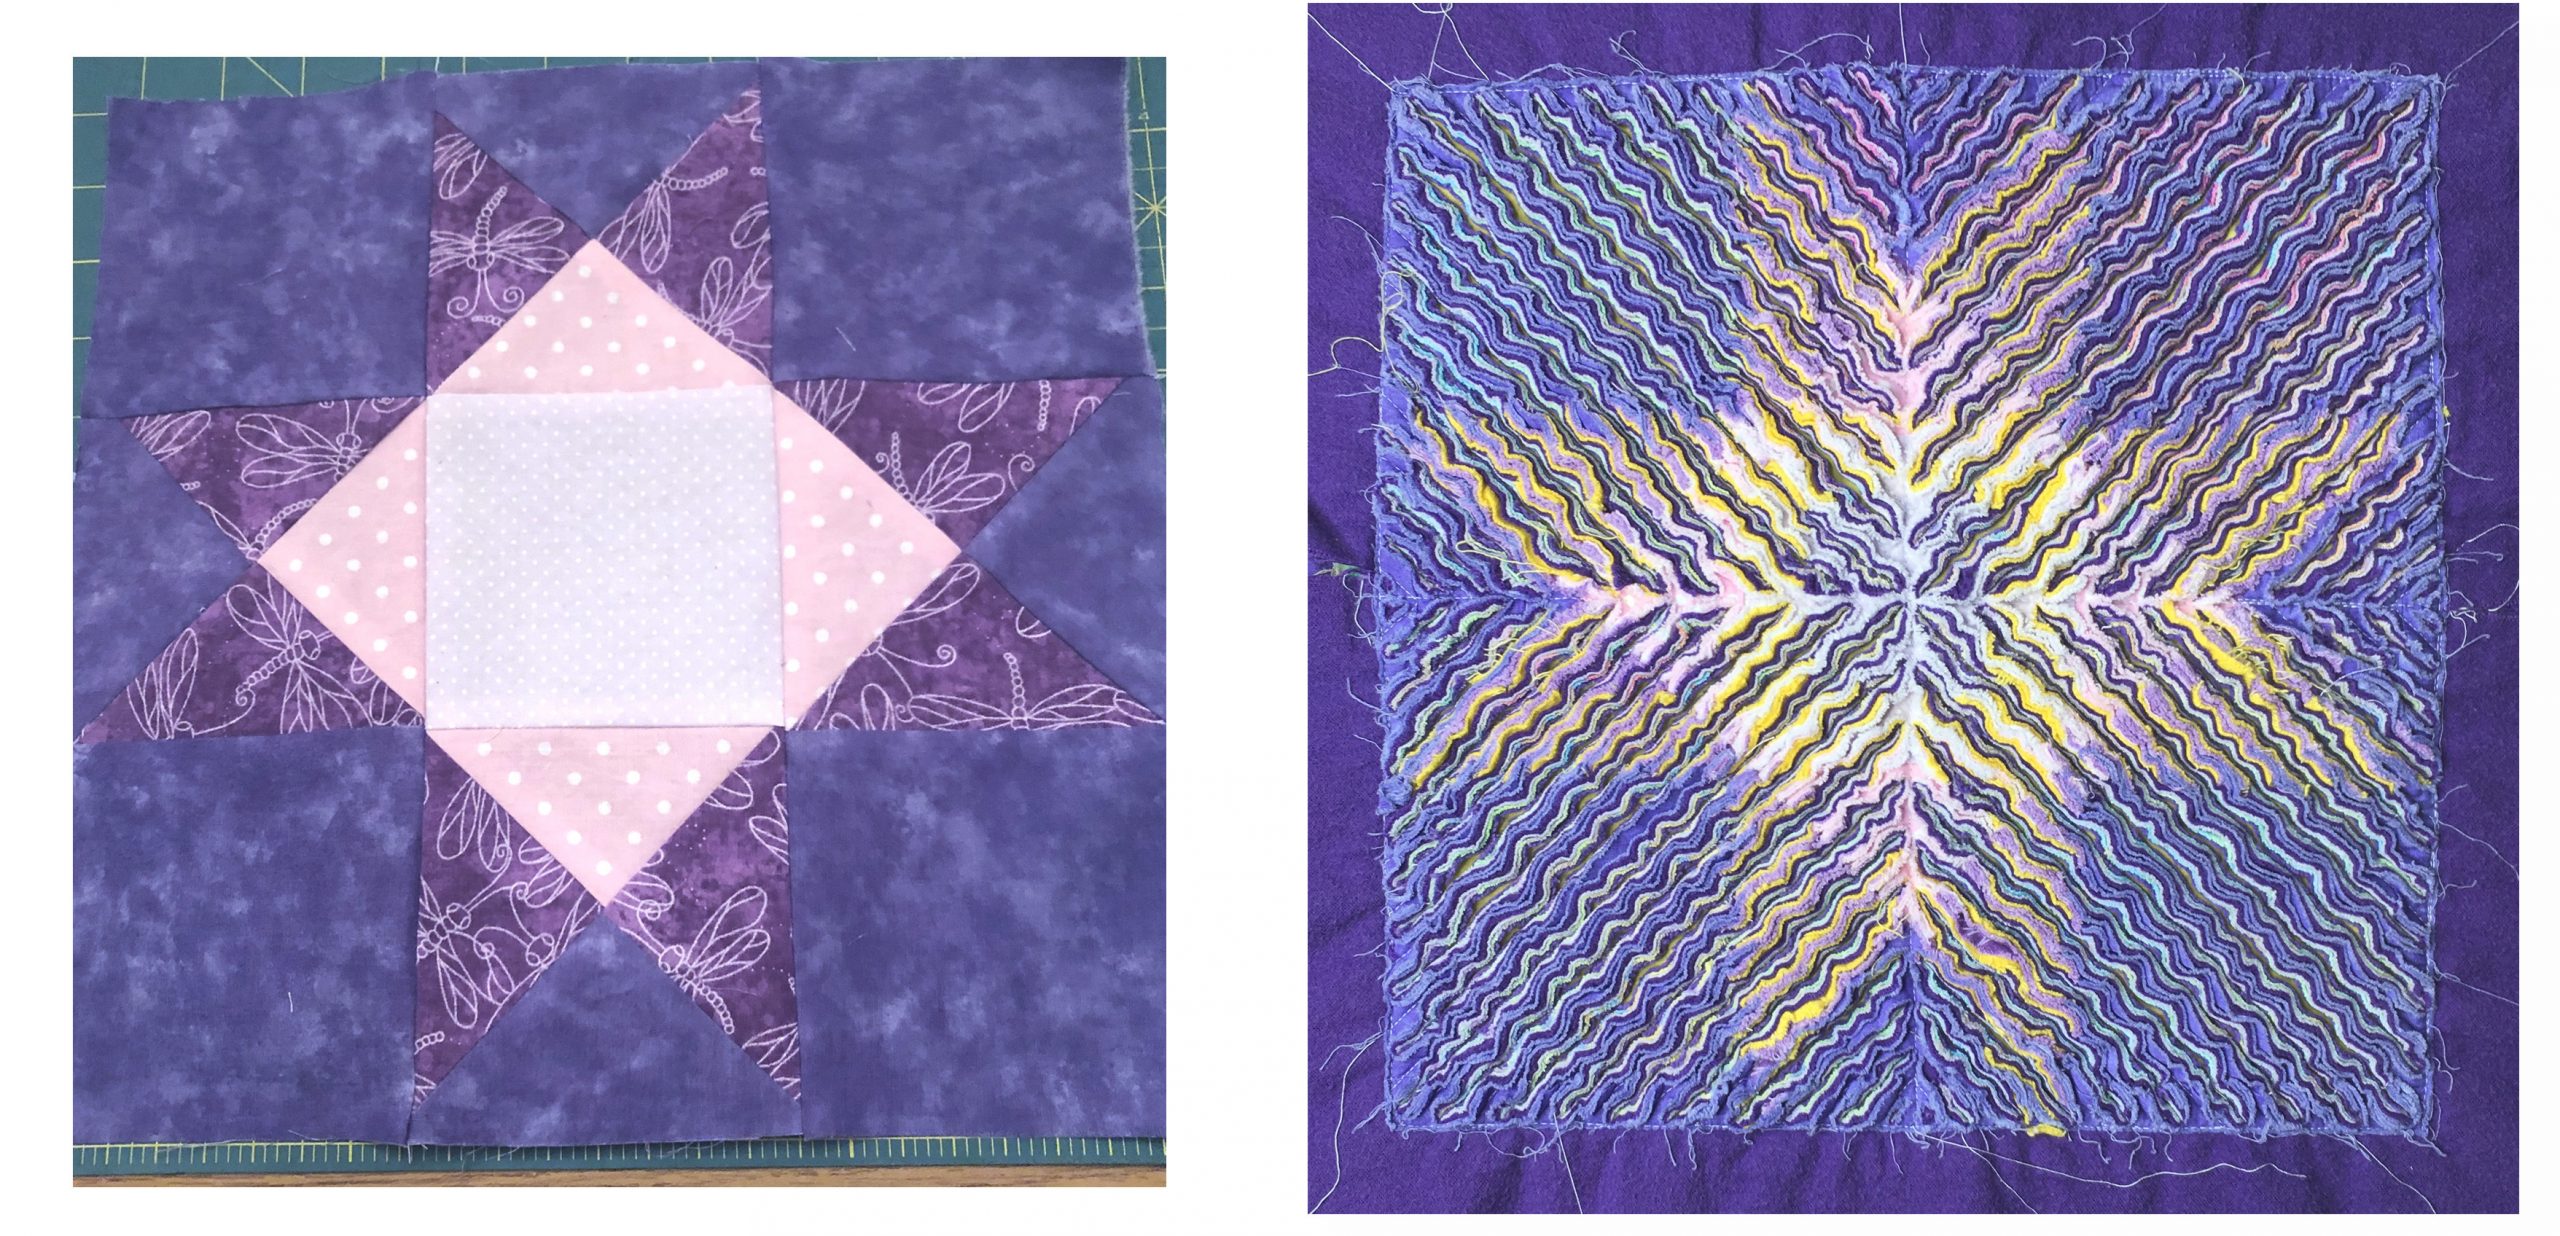
Making faux chenille is just fun. Most of us are drawn to quilting through a love of texture, and this faux chenille technique takes texture to the maximum. In this class, we will rescue some orphan blocks and turn them into soft chenille, perfect for pillow-making or other crafts. Once you have mastered the basic technique, you can take those skills to larger projects … maybe a fuzzy, warm chenille coat?
Dig through your stash of UFOs (unfinished objects) and bring an orphan block or slab of pieced colors approximately 12” to 16” square-ish. Also, bring some coordinating flannels and fabrics to layer onto your block. And maybe a few contrasting pieces as well! (Let me know if you need a starter block; I have many unfinished ideas on my shelves!)
We’ll have a good time layering fabrics, stitching them, and slashing them to make a terrific, fluffy new work of art.
short talks
Everyone starts as a beginner. These short lectures will introduce the vocabulary and concepts that will enable you to feel comfortable in the world of your new hobby.
Please bring your questions; they are all worth asking … sharing is caring … and learning.
Approximately 90 minutes each.
Note: I am a firm non-believer in the “one and only” right way to do things. No quilt police on my watch! These talks are based on my years of experience and working with other sewists and quilters. Never stop asking questions, trying new things, and learning!
Say What?!
Fat quarters, dog-ears, and fussy cutting. Quilting terms can sound foreign, even if you are a long-time garment or home decor sewist.
We will discuss fabric measurement, fabric types, fabric grain, rotary cutting, rulers, seam allowances, finished vs unfinished blocks, and much more.
We will also talk about basic quilting supplies that can make your work easier.
Thread & Needles
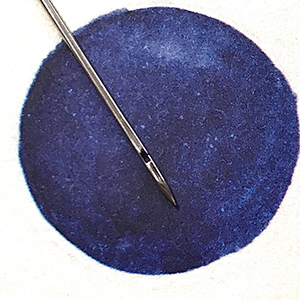
Have you ever been mystified by the racks of thread and all those different needles hanging on the display wall? Understanding your thread and needle choices can make a big difference in your sewing joy.
We will discuss thread sizes, fiber types, top vs. bobbin thread, and relative quality. And needles? We will discuss the different types and sizes and why you should care.
We’ll also talk about how sewing machines actually make that stitch and the importance of learning how to balance tension.
Note: This class is not quilting-specific and can be helpful for all sewists.
Color Basics
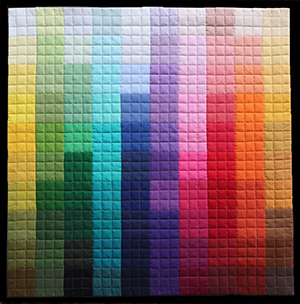
Develop your color vocabulary to understand how color placement can make or break your creations.
We will discuss the many ways of looking at color: hue, tint, shade, and value. We will also get familiar with pigment color wheels, which can help build pleasing combinations. And discuss the emotional impact of color and how to find color inspiration around us.
Batter Up
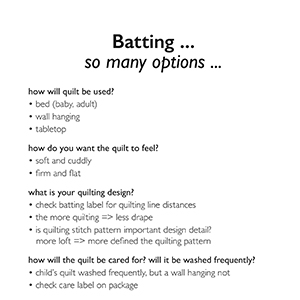
Batting can make or break your quilt.
We will discuss the many fiber options and how they behave, choosing the best fiber and thickness for your project, piecing, washing, sustainability, and bearding. We will also look at quilted samples to compare how your batting choice impacts the finished look of your quilt.
Binding
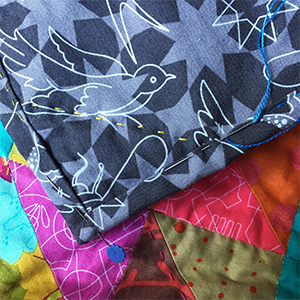
After your work of art is quilted, those raw edges must be protected.
We will discuss preparing your quilt (squaring up, etc.), types of bindings, choosing fabric and colors, and types of machine or hand-sewn binding finishing.
Additionally, we will discuss some common challenges: joining binding ends, turning corners, wavy or uneven edges, not enough fabric, or replacing worn binding on a well-loved quilt.
Are We Done Yet?
You’ve pieced the top, but it’s not a quilt until you’ve made the back, sandwiched it with batting, quilted, and bound it.
This is an overview of the process of finishing your quilt. We will discuss preparing a backing, buying batting, quilting by hand, machine, or “check,” and types of binding to finish the raw edge.
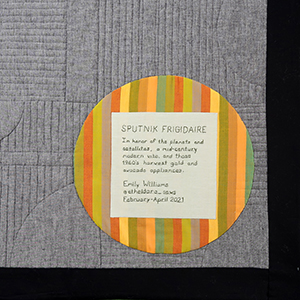
Finally, we will discuss the value of labeling and how to hang a quilt on the wall.
What Do I Do Now?!
Life happens. Even with the best planning, quilty problems arise.
We will discuss how to survive:
Bleeding colors.
Raveling or unstable fabric. “
Unsewing,” fitting irregular or misshapen blocks.
Blocking.
Unfortunate scissor usage.
Other sewing surprises.
Bring your questions/problems, and we can brainstorm.